PhotoPerspective
Perspective warp photo.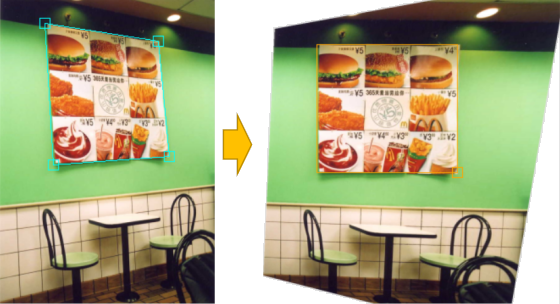
- You can correct not only the specified area but also the entire photo including its surroundings.
- For photos of the same size, you can correct a new photo using the previous condition (useful for correcting multiple photos in the same condition).
- Files
. │ PhotoPerspective.exe │ PUtils.dll │ ├─ cfg/ │ perspectiveParam.xml │ └─ ja-JP/ PhotoPerspective.resources.dll- The setting value storage cfg-folder and setting value xml-file will be created automatically if they do not exist.
- OpenCV files are not listed.
Usage
- Start PhotoPerspective.exe.
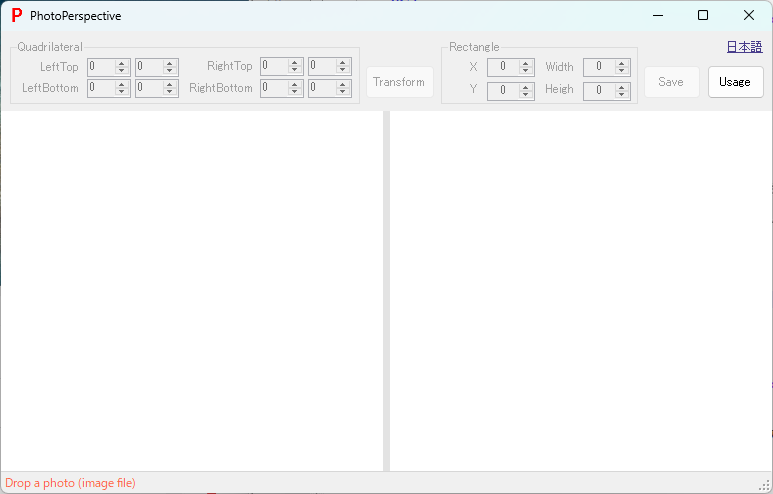
- Drop a photo (Jpeg image file).
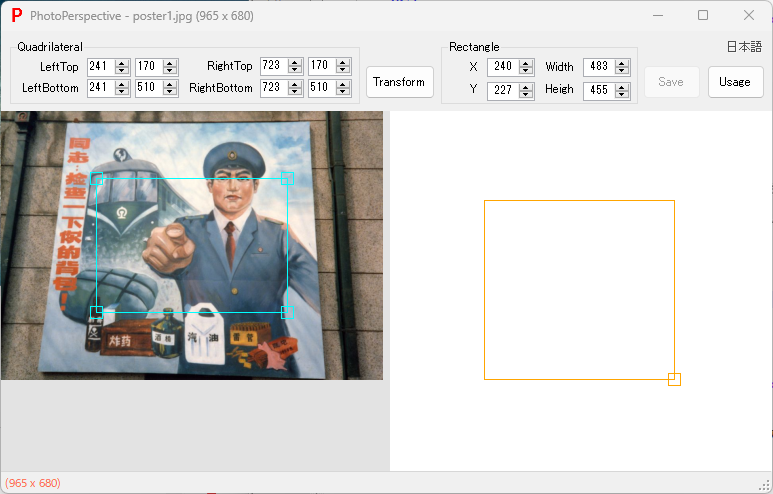
- Right-click menu
 on left image, Import the image from the clipboard.
- Right-click menu
- Use the mouse to specify the quadrilateral (4 vertices) you want to correct and the rectangle after correction (position and size).
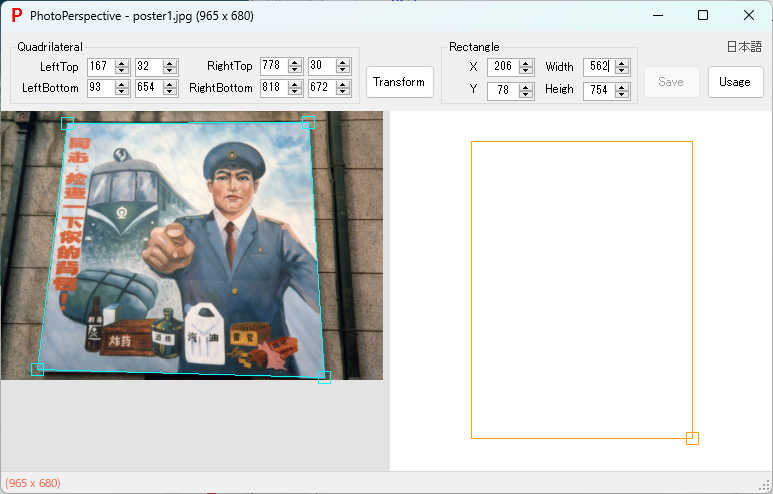
- To adjust the quadrilateral you want to correct, drag the four vertices on the left.
- To adjust the corrected rectangle position (top left X and top left Y), drag the center of the rectangle on the right side.
- To adjust the corrected rectangle size (width and height), drag the right side, the bottom side, or the bottom right vertex of the rectangle on the right side.
- Execute [Transform].
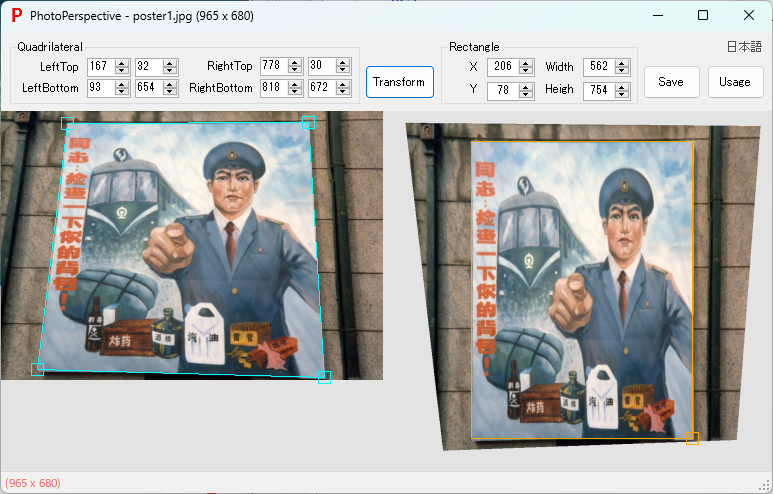
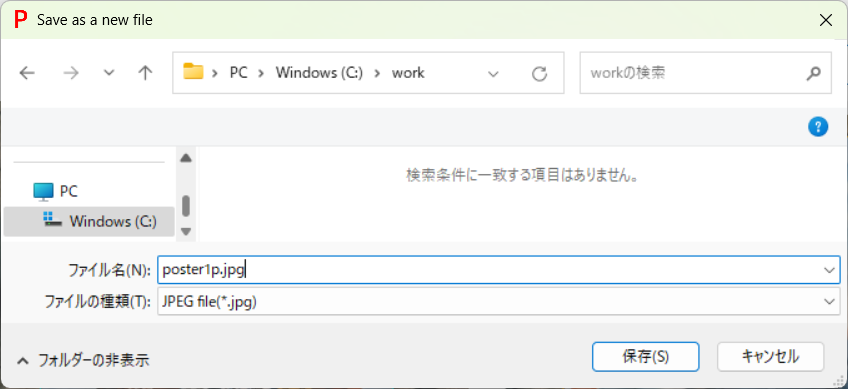
- [Save], Set the new file name and [Save].
- The following images are saved.
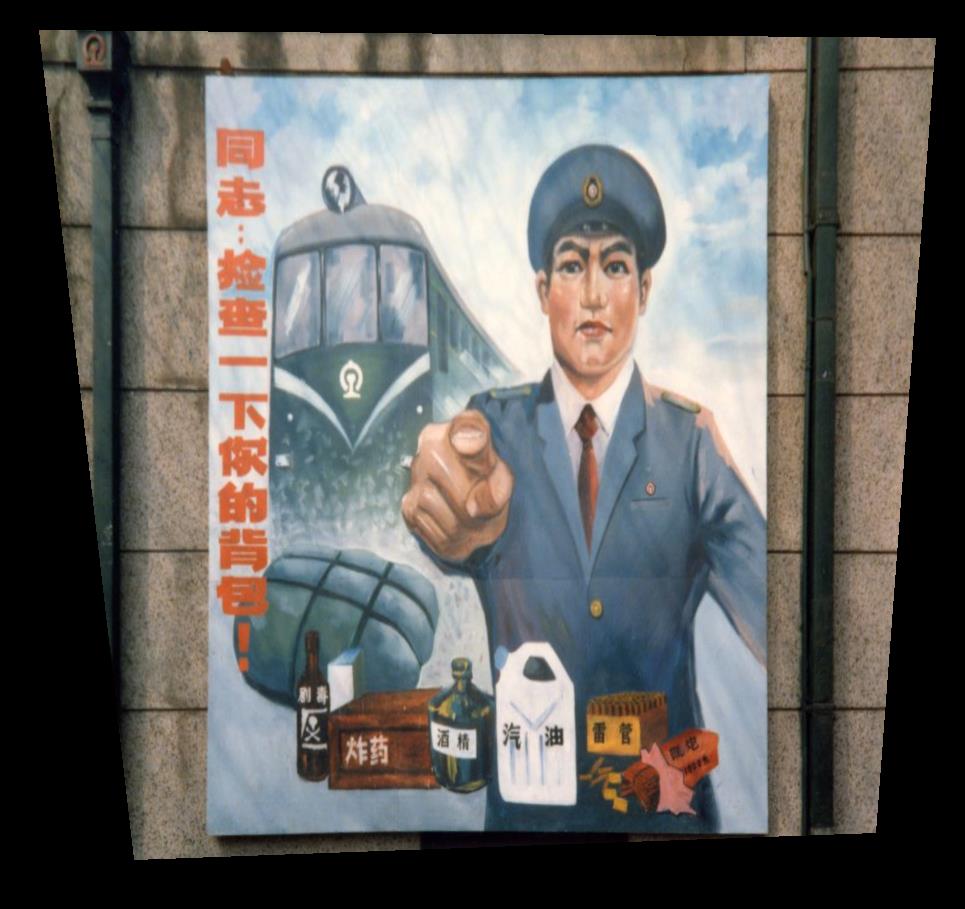
- The following images are saved.
- Right-click menu
 on right image, Copy the image to the clipboard.
